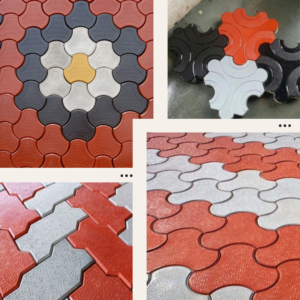
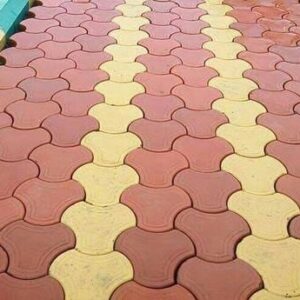
Cabro Installation process
1. Preparation
It’s a good idea to have a plan before any ground is broken.
2. Excavation
Dig off as required, and dispose of spoil.
3. Sub-base
Spread, level and compact a minimum 100mm thick layer of sub-base material.The sub-base should be profiled or graded to match the planned profile of the finished paving and should be accurate to ±10mm. There should be no voids within the sub-base – any such voids should be filled with stone dust or grit sand and compacted before placing the laying course.
4. Edge Courses and Kerbs
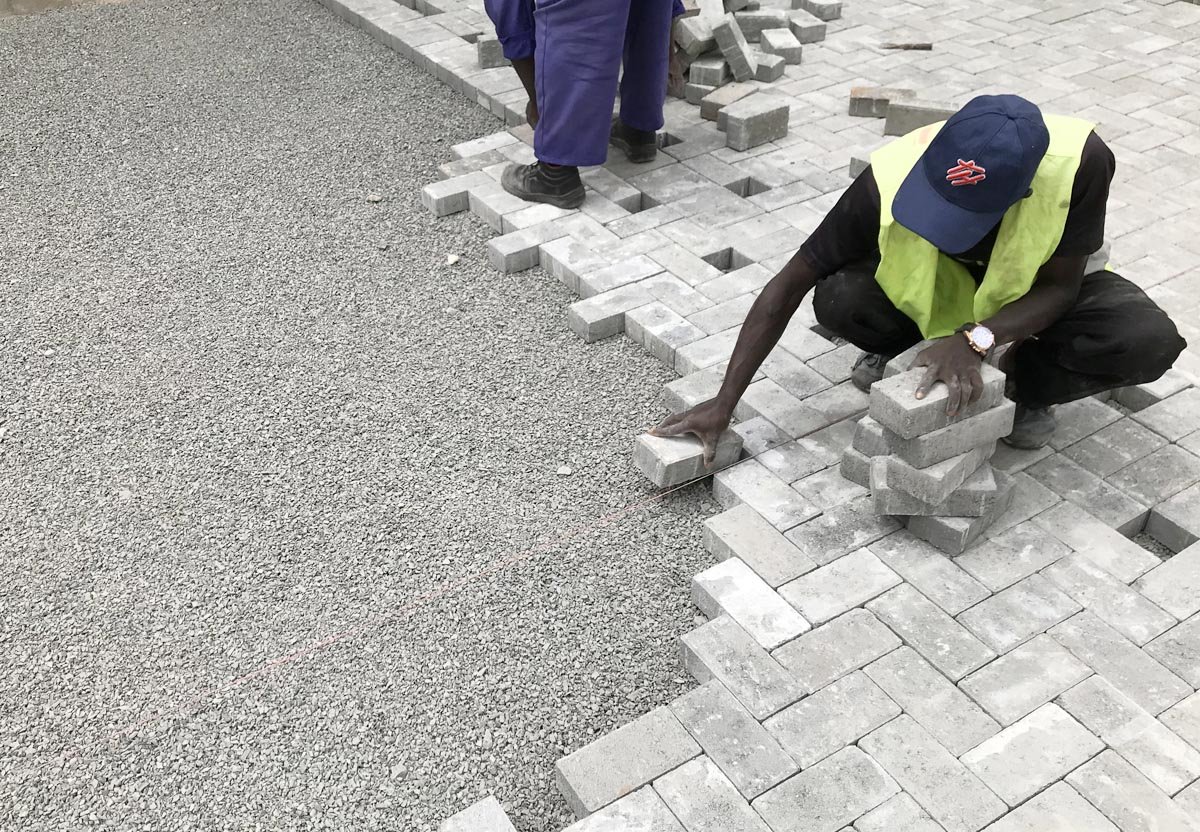
Set up taut string lines to guide line and level of edge courses and kerbs.Edge course bricks and kerbs should be laid onto a concrete bed. Check that straight lines are indeed straight, and that the curves are ‘sweet’. Once satisfied with the lines and curves, edge courses and kerbs should be solidly haunched with concrete at least 75mm thick.
5. Laying Course
Spread, level and compact laying course sand, and screed to correct level.When compacted, the laying course sand should be 25-40mm deep. The key to successful screeding is creating a smooth, even and flowing surface on which to lay the bricks. The surface profile of the screeded laying course more or less matches that of the finished pavement, so attention to detail is essential
6. Block laying
Laying of all full blocks continues, with the operatives working from the already laid paving, not from the screeded laying course. The bricks (blocks) are randomised prior to laying by selecting them from at least three open packs. This helps prevent blotching or banding of colours and allows the paving to show off the full range of hues to best effect.
7. Alignment and compliance
Once all the full blocks are laid, they need to be checked for alignment by using a string line stretched along the diagonal courses and adjusting as necessary, using the alignment bar tool. Clay pavers often require significant re-alignment as the imperfect rectangles are prone to drifting off-line during the laying process. Concrete blocks, being moulded as perfect rectangles, usually suffer less drift and so require less re-alignment, but they should always be checked prior to cutting-in.
8. Cutting-in
Once the alignment has been checked and verified, the edges can be cut in.
9. Jointing and compaction
The final task is jointing. This is done once all the cutting-in has been completed, and the compliance checks carried out.
10. Completion
Excess jointing sand can be swept off the surface and it is now ready to be used. The jointing sand may settle over the first few weeks and should be topped up as soon as this becomes apparent.

See Insights and Ads
Promote
All reactions:
22

